WebApp
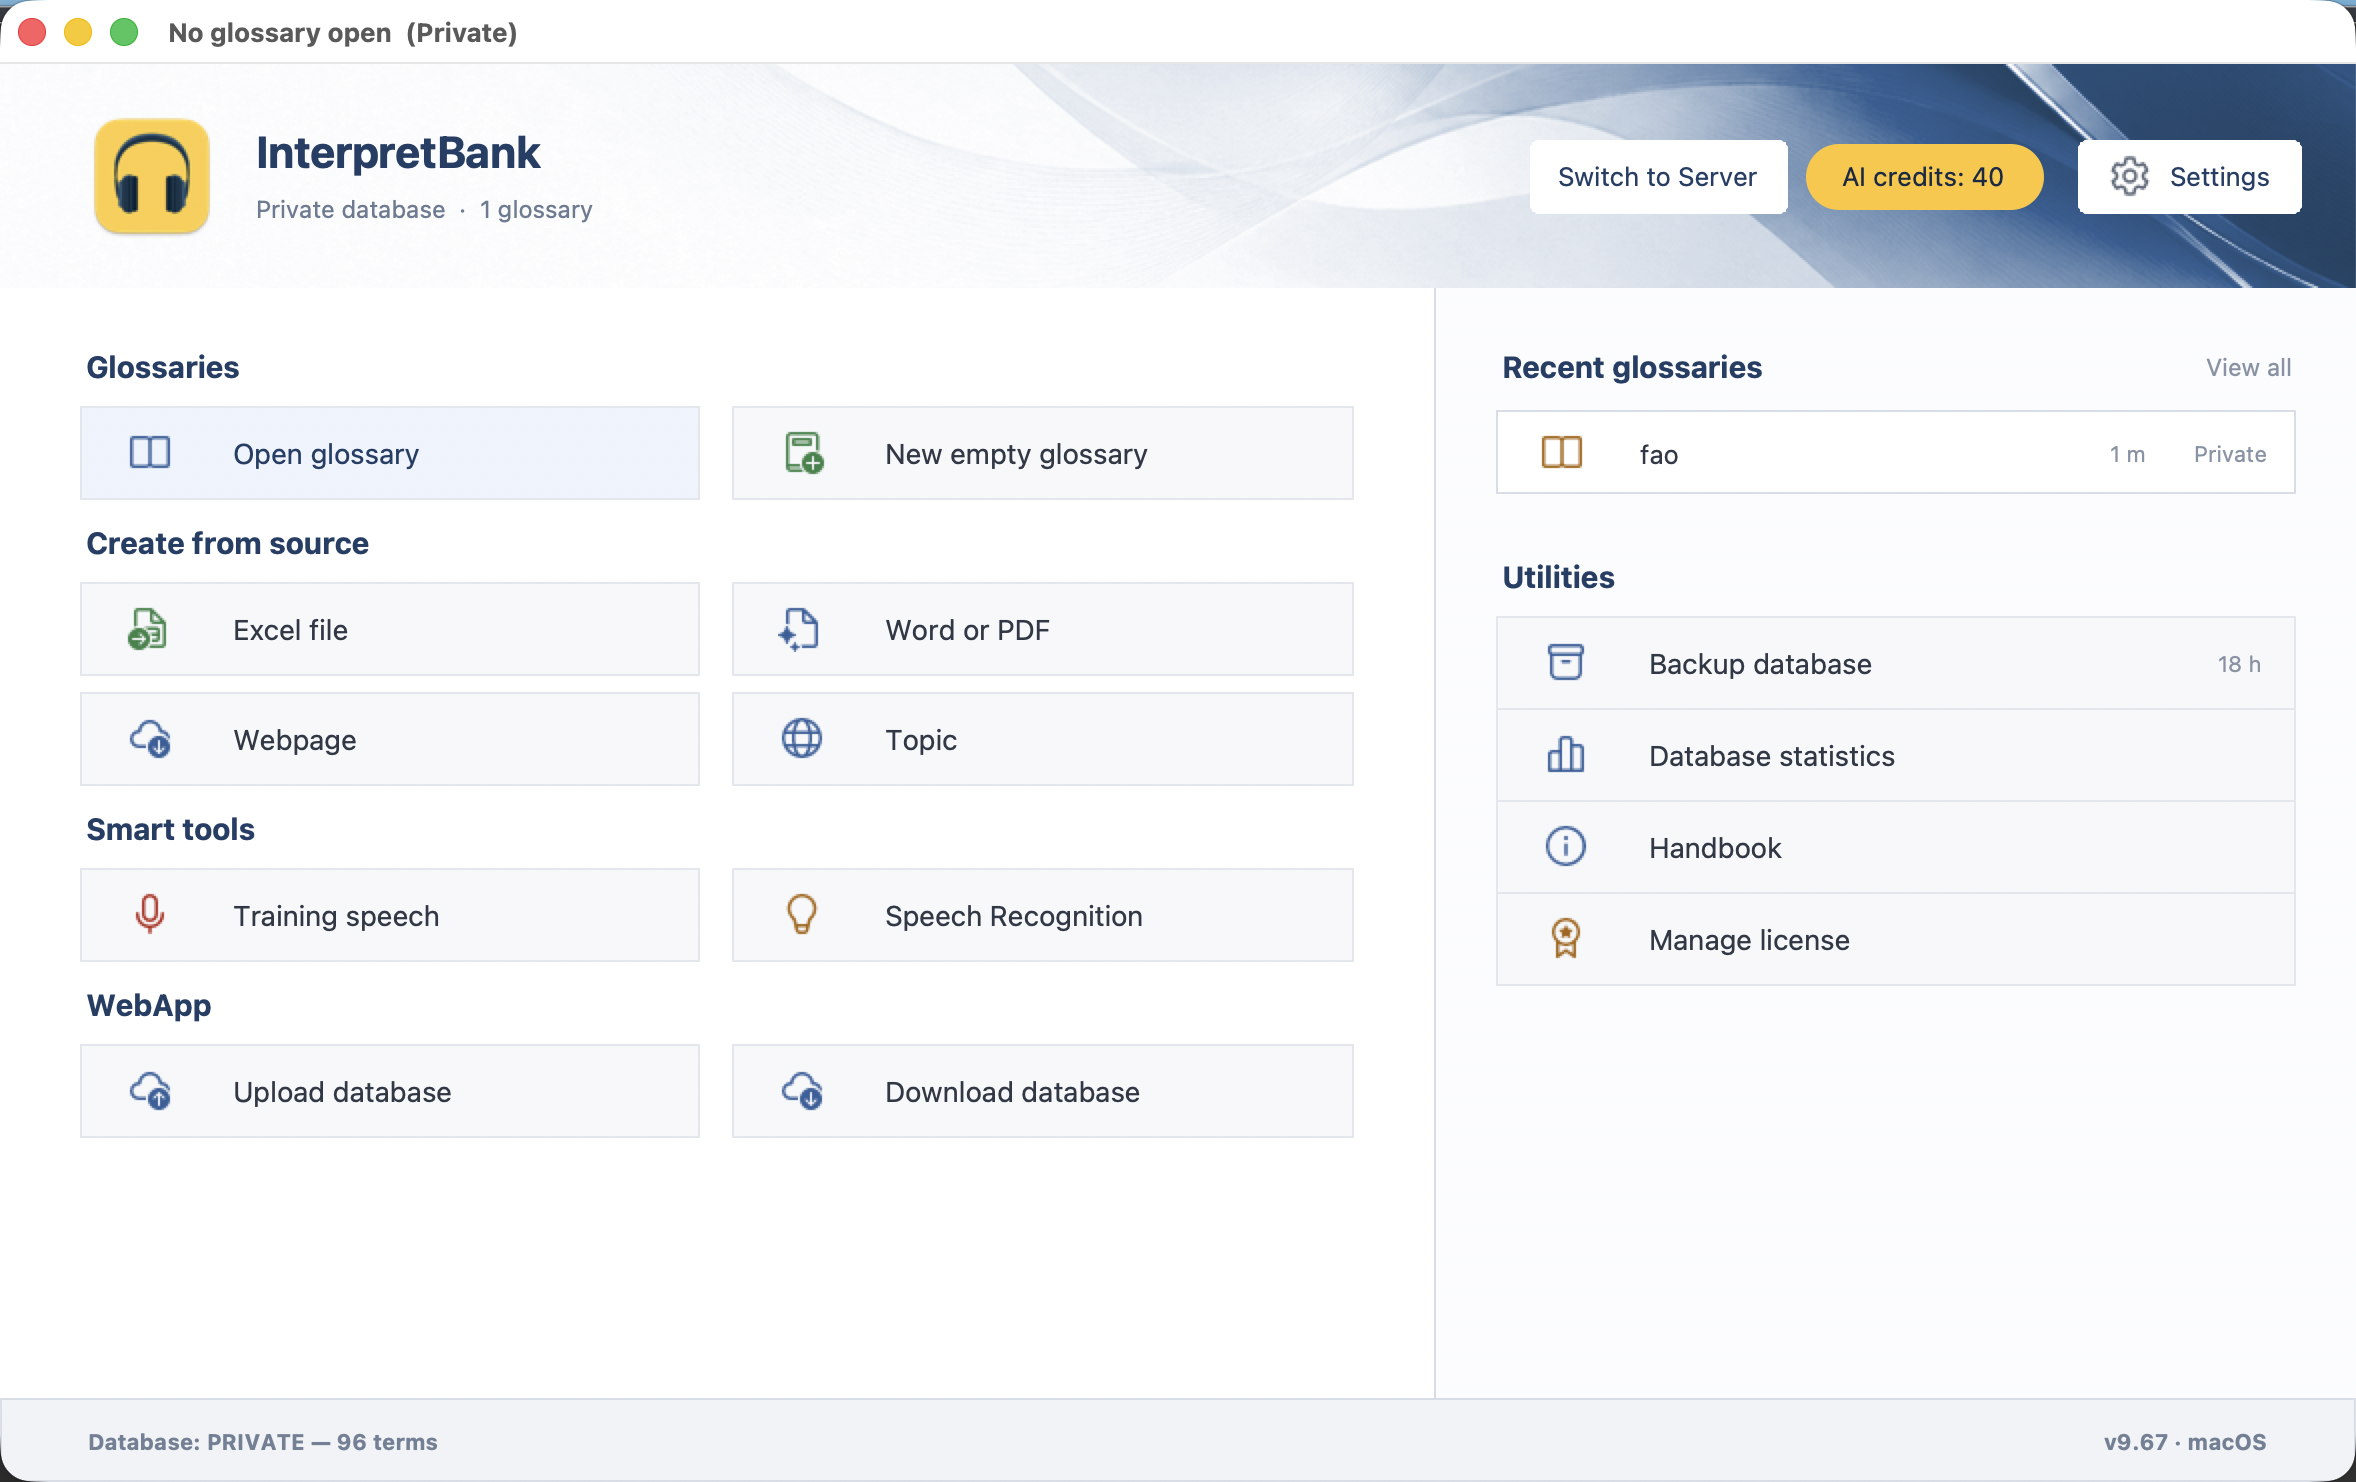
The WebApp extends the Desktop application. You can upload your database from the Desktop to your WebApp account and then access your glossaries from any device, for example an iPad, a tablet, or a mobile phone.
Installation and database synchronization
You can open the WebApp in your browser at www.interpretbank.com/app. On supported devices, you can also install it as a web app. Open the browser menu and choose Add to Home Screen or Install app. This creates a dedicated icon on your device.
Database synchronization
Your Desktop database and your WebApp database are synchronized manually. No synchronization runs automatically in the background. This means you decide when to copy your data from the Desktop to the WebApp, or from the WebApp back to the Desktop.
After logging in, you will see your Dashboard. The Dashboard lists your glossaries and lets you open each one for lookup, editing, memorization, sharing, or deletion.
PRO Pack for Cloud/Support/Update
To use the WebApp, you need an active PRO Pack for Cloud/Support/Update. To check how long your PRO Pack is valid, open Help | License in the Desktop application.
Create a WebApp Account
To use the WebApp, first create a WebApp account from the InterpretBank Desktop application:
- Open WebApp | Manage WebApp Account.
- Enter a username, a password, and a valid e-mail address.
- Click Create cloud account.
- Confirm the terms and conditions by clicking Accept Terms and Create Account.
- Upload your Desktop database to the WebApp. This is required because the WebApp uses your database to read your language settings and make your glossaries available online. See Upload your Desktop database to your WebApp account.
- Open www.interpretbank.com/app and log in with your username and password.
Forgot or change your password
Your WebApp credentials are saved in your Desktop installation. Your password is encrypted. If you have forgotten your WebApp password or want to change it, do this from the Desktop application:
- Open WebApp | Manage WebApp Account.
- Enter your username and e-mail address, if they are not already shown.
- Click Change password.
- Enter your new password.
- Confirm the message and click Save new password.
Upload your Desktop database to your WebApp account
To copy your Desktop database to your WebApp account, open WebApp | Upload database to WebApp. After the upload, all glossaries from your Desktop database are available in the WebApp Dashboard. The upload may take several minutes, depending on the size of your database and the speed of your internet connection. Your database should not contain more than 100,000 records.
Note
Uploading overwrites the database currently stored in your WebApp account. This operation cannot be undone.
Download your WebApp database to the Desktop
To copy your WebApp database back to the Desktop application, open WebApp | Download database from WebApp.
Note
Downloading overwrites the database currently stored in your Desktop application. This operation cannot be undone.
Dashboard
Use the Dashboard to open and manage the glossaries uploaded to your WebApp account.
For each glossary, the Dashboard shows the name, languages, upload date, and an Actions menu.
In the navigation bar on the left, the following shortcuts are available:
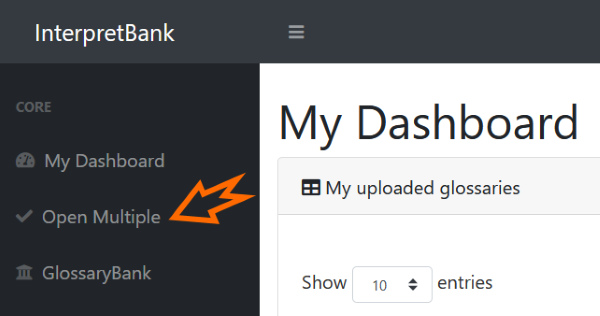
- Open multiple: Open several glossaries together.
- Stop sharing all: Stop sharing all glossaries you have shared in the past.
- Live transcription: Open the browser-based live transcription workspace. See Live transcription.
- Uploaded: See when the database was last uploaded from your Desktop.
Actions for individual glossaries
- Lookup: Open the glossary for lookup or editing.
- Memorize (classic): Open the glossary in the classic flashcard-style memorization view.
- Share: Send the glossary to a colleague by e-mail. You can decide whether the recipient can only look up the glossary or can also edit it.
- Stop sharing: Stop sharing this glossary with the people you previously shared it with.
- Delete: Delete the glossary from your WebApp account.
Live transcription
The WebApp includes a basic version of live transcription. It transcribes what is being said in real time, directly in your browser, and lets you translate the transcribed text on the fly. Numbers are highlighted automatically so that figures are easier to spot while you work.
This version is thought for live use on the go, on mobile devices, for example a phone or a tablet, in situations where a laptop is not usable. For a full-featured setup, including the choice between a cloud and a local transcription engine, higher precision, glossary integration, and booth connectivity, use the installable app described in the Transcription documentation.
Transcription engine and privacy
Live transcription in the WebApp uses the Chrome API transcription engine, the speech recognition built into the browser. This means that your browser sends the microphone audio to its own speech service (Google, in the case of Chrome), and that the quick translation sends the selected text to an external service. Do not use this version for confidential assignments. For those, use the installable app with the local engine or the EU cloud engine.
Browser requirements
Because the transcription relies on the browser's own speech recognition, live transcription works in Google Chrome and Microsoft Edge. In browsers without this feature, for example Firefox, the WebApp shows a notice and the microphone stays disabled; manual translation still works.
Start a session
- In the navigation bar on the left of the Dashboard, click Live transcription.
- Select the spoken language and, if you want to translate, the target language. On small screens the language pair is in Settings | Languages. The list contains the languages used in your uploaded glossaries; if no language matches, the full list is shown.
- Click the microphone button and allow the browser to access your microphone. The transcription appears as you speak.
- Click the microphone again to stop, or the broom button to clear the transcription.
Translate on the fly
- Quick translation: select a word or a passage in the transcription. The translation is shown in a popup. While a selection is active, the transcription is frozen so that the text does not scroll away.
- Manual translation: type a text in the input field at the top and press Enter.
- Live translation: in Settings | Translation, activate Show live translation to display a second pane that is translated continuously. You can place it next to or below the transcription. The option Allow interim translations (beta) translates the sentence already while it is being spoken.
Settings
- Languages: spoken language and translation language.
- Audio: choose the microphone or audio input to use, or keep the system default.
- Display: text size and line spacing of the transcription.
- Translation: live translation, its position, and interim translations.
Your settings are stored in the browser you are using, so they are available again the next time you open the WebApp on the same device.
Look up multiple glossaries
To look up several glossaries at the same time, click Open multiple. In the popup, select the glossaries you want to open and click Open glossaries. You can then show or hide the languages you want to use.
Share glossaries with colleagues
You can share uploaded glossaries with colleagues. You can give them read-only access, or allow them to edit the glossary.
To share a glossary, open the Actions menu and click Share a glossary with a colleague. Enter the recipient's e-mail address and the glossary code, choose whether the recipient can edit the glossary, and click Send. The recipient will receive an e-mail with a link to open the glossary in the WebApp.
Search glossaries in your web browser
- Search is always accent-insensitive.
- Search usually starts automatically while you type. In some browsers, automatic search is disabled. In this case, click the magnifying glass icon to start the search.
- Press Enter to clear the search field.
- Use the menu on the left to show or hide language columns and to toggle the NotePad and Abbreviations columns.